")
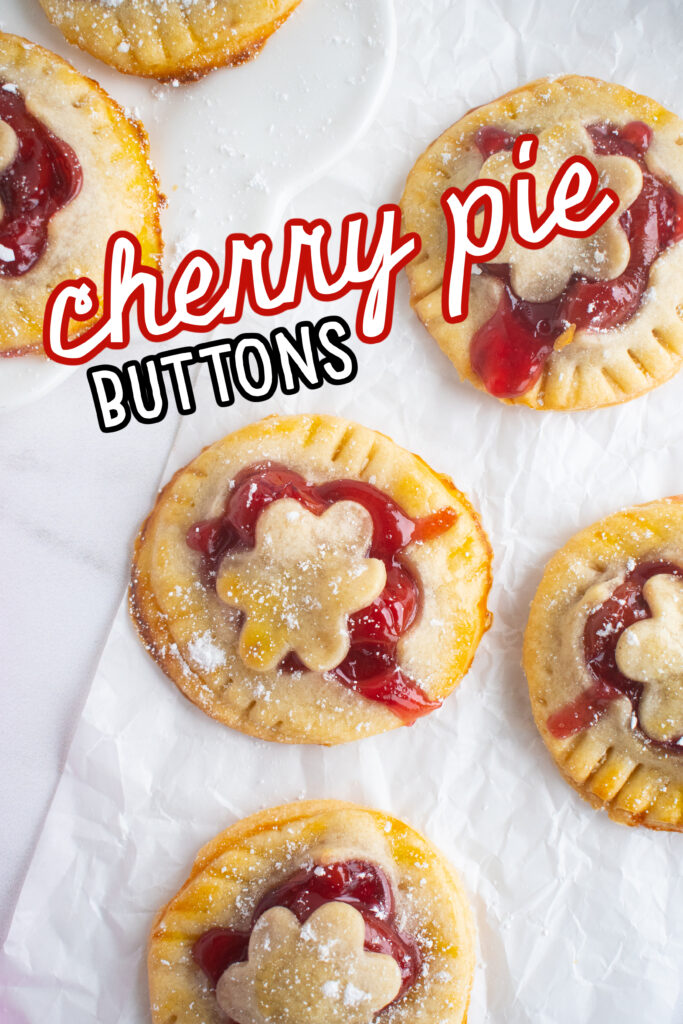
These Cherry Pie Buttons use leftover pie crust and cherry pie filling to create a tiny, sweet dessert that is perfect for Christmas and the holidays.
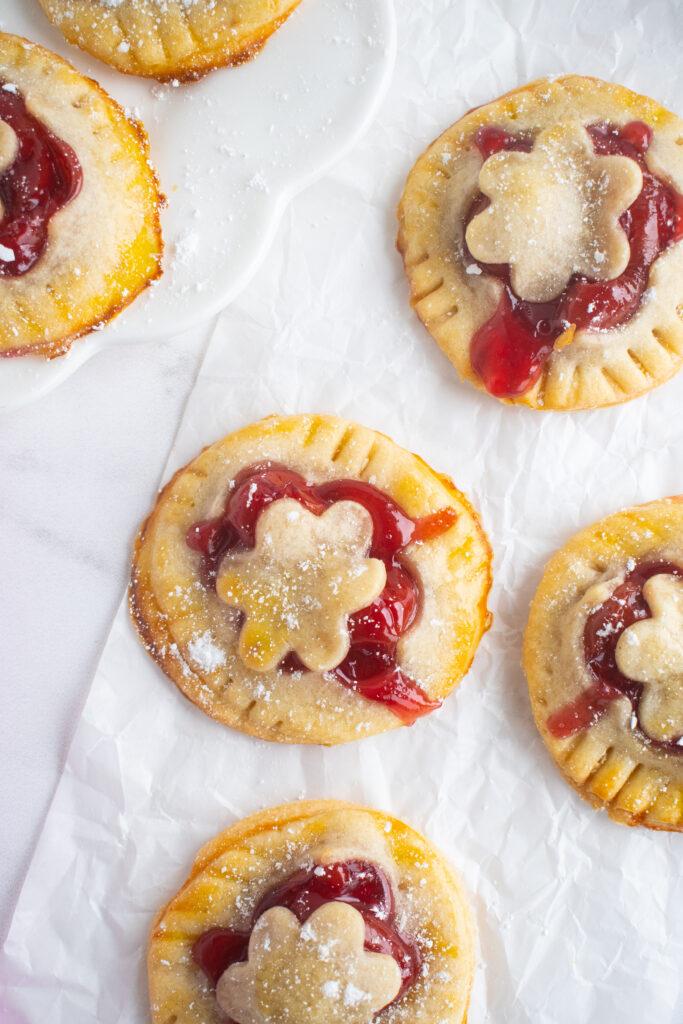
Cherry Pie Buttons are one of my favorite ways to turn leftover pie crust into something special. This recipe transforms scraps of dough and a little cherry pie filling into a sweet and satisfying dessert that looks like miniature pies. They are the perfect treat for the holidays, especially at Christmas, when everyone loves small-bite desserts that feel fun, festive, and easy to share.
Many of my cherry desserts are inspired by my love for Door County, Wisconsin. I grew up enjoying the bright, tart, freshly picked cherries there. In so many recipes, that flavor always brings back memories. These little pies remind me of those bakery case treats you can enjoy on vacation, but with the bonus of using up every last piece of crust in your own kitchen.
Ingredients
Leftover pie crust
Cherry pie filling
Egg
Water
Powdered Sugar for dusting

Equipment Needed
Rolling pin
Small round cutter or drinking glass
Teaspoon
Fork
Parchment paper
Baking sheet
Pastry brush
Small bowl

Cherry Pie Buttons
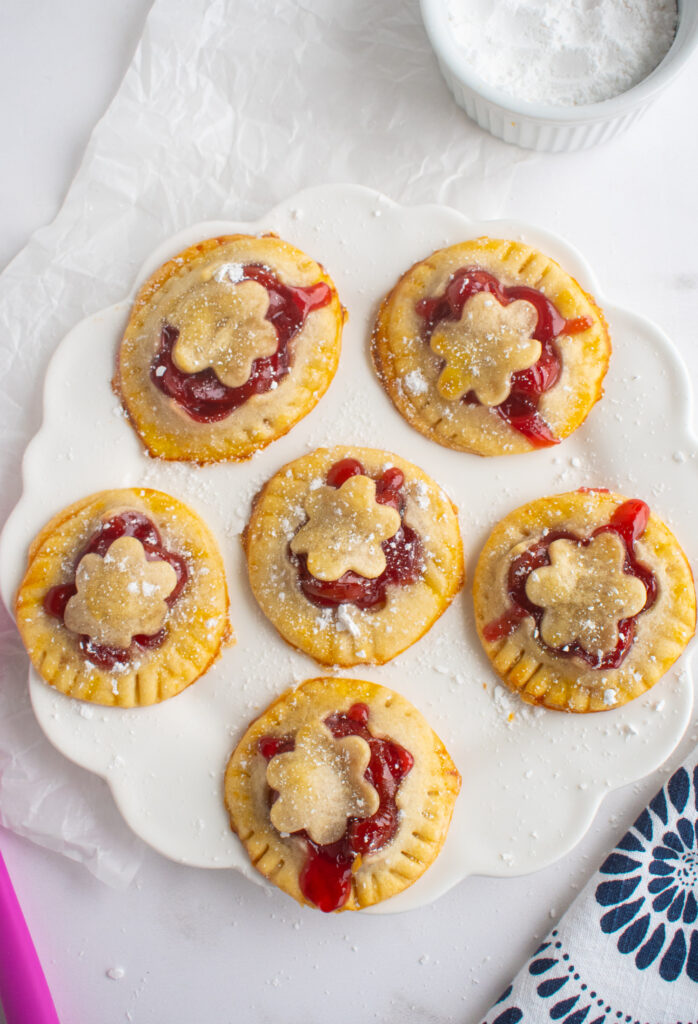
These Cherry Pie Buttons use leftover pie crust and cherry pie filling to create a tiny bite of a sweet dessert.
Ingredients
- 1 leftover pie crust
- 1/2 cup cherry pie filling
- egg wash 1 egg and 1 teaspoon of water
- 1 tablespoon powdered sugar for dusting
Instructions
-
Roll out your leftover pie crust on a lightly floured surface. Keep the dough cold so the crust bakes up flaky.
-
Use a small round cookie cutter or the top of a drinking glass to cut circles out of the crust. Move half of the circles onto a parchment-lined baking sheet.
-
Place a tiny spoonful of cherry pie filling in the center of each circle. These are small-bite desserts, so you only need a little filling to prevent leaks.
-
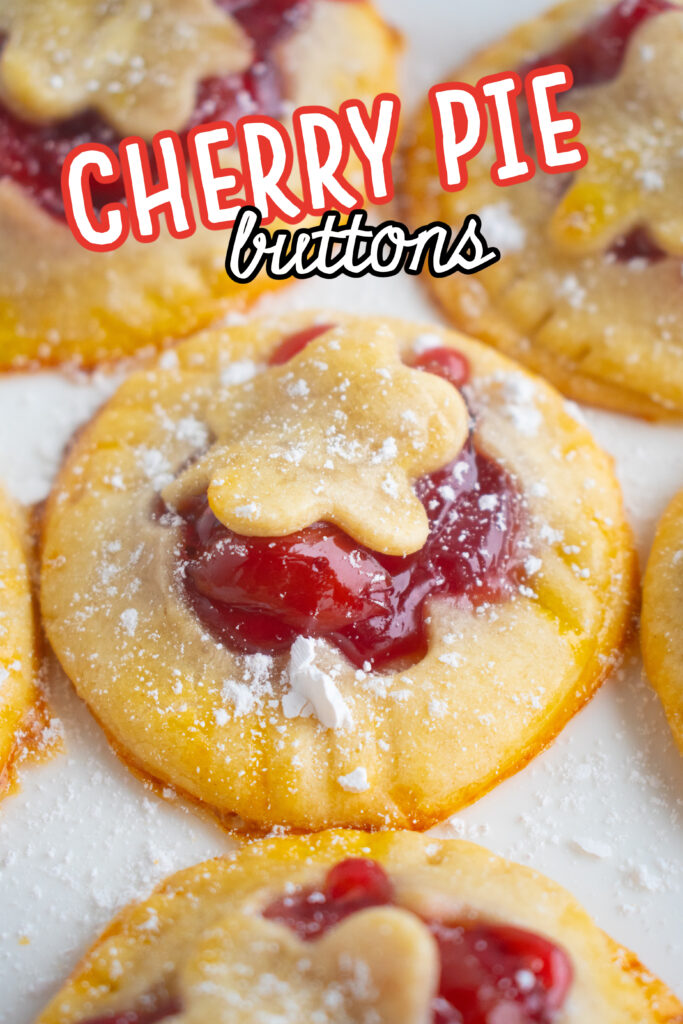
Use the second set of circles as the tops. Before placing them on the pies, use a tiny decorative cookie cutter to cut a small shape from the center of each. This creates a sweet little vent and a pretty topping.
-
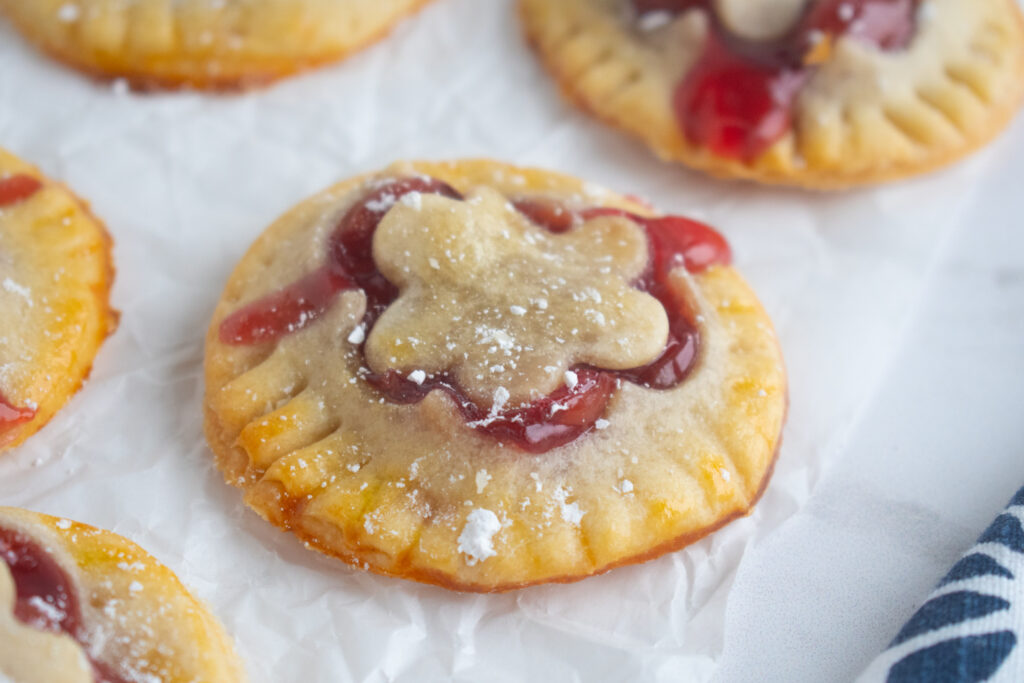
Place the decorated circles on top of the filled bottoms. Press gently around the edges with your fingers, then seal completely with a fork.
-
Make an egg wash by whisking one egg with one tablespoon of water. Egg wash gives the crust a golden, shiny finish. Brush a light layer over each pie button.
-
Sprinkle the tops with a bit of sugar and bake until the crust is golden and the filling begins to bubble through the cutout.
-
Let the Cherry Pie Buttons cool briefly. They are sweet, satisfying, and perfect warm or at room temperature.
Instructions
-
Roll out your leftover pie crust on a lightly floured surface. Keep the dough cold so the crust bakes up flaky.
-
Use a small round cookie cutter or the top of a drinking glass to cut circles out of the crust. Move half of the circles onto a parchment-lined baking sheet.
-
Place a tiny spoonful of cherry pie filling in the center of each circle. These are small-bite desserts, so you only need a little filling to prevent leaks.
-
Use the second set of circles as the tops. Before placing them on the pies, use a tiny decorative cookie cutter to cut a small shape from the center of each. This creates a sweet little vent and a pretty topping.
-
Place the decorated circles on top of the filled bottoms. Press gently around the edges with your fingers, then seal completely with a fork.
-
Make an egg wash by whisking one egg with one tablespoon of water. Egg wash gives the crust a golden, shiny finish. Brush a light layer over each pie button.
-
Sprinkle the tops with a bit of sugar and bake until the crust is golden and the filling begins to bubble through the cutout.
-
Let the Cherry Pie Buttons cool briefly. They are sweet, satisfying, and perfect warm or at room temperature.
Storage
Let the Cherry Pie Buttons cool completely. Store in an airtight container at room temperature for up to 2 days, or in the refrigerator for up to 4 days. To freeze, place them in a single layer on a baking sheet until firm, then transfer to a freezer-safe bag. Thaw at room temperature before enjoying.
Try making these Cherry Pie Buttons the next time you have leftover crust. They are simple, charming, and always a perfect treat during the holidays.
Did you make these easy and adorable cherry pie buttons? I would love to hear how these turn out for you! Please comment below this blog post or tag me on social media and let me know how this worked for you. You can find me on Facebook, Pinterest, Instagram, and Twitter.